With the increasing digitalization of the legal and deal-making sectors, you have just acquired a next-generation data room solution to manage ultra-confidential corporate documents as part of a due diligence process. Congratulations!
These next-generation solutions, including Closd’s, are more affordable, simpler and have a more modern design than traditional market players. Their first differentiating factor is their user-friendliness. They are quick to set up and configure, allowing you to accelerate audits and save precious time.
In addition, unlike many software programs that require support during implementation, users can create their own data room in just a few clicks. These solutions combine the simplicity of traditional document sharing tools (such as Drives or file transfer solutions) with the essential features offered by traditional data room solutions.
To help you get the most out of your new tool, we have prepared a list of 10 tips to help you configure your Closd data room easily and efficiently from scratch. Follow the guide!
10 tips for getting the most out of your data room
1. Mass import participants using an Excel File
Don’t waste any more time inviting the different participants one by one on your space! Avoid this manual and time-consuming task by opting for a mass import of the different parties.
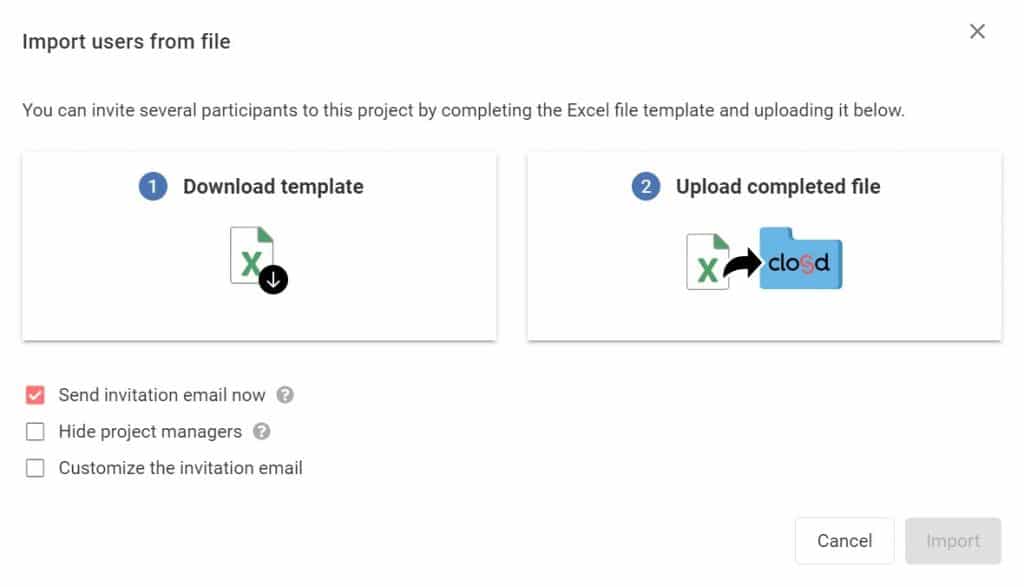
In the Participants menu of your data room, click on the Import / Export button, then on Mass import of participants. You can then download the Excel template to fill in. Once the file is filled in, you can upload your file to the platform. You can even add a personalized message to the invitation!
2. Invite participants to join the data room later
When setting up your data room, you may first want to ensure that all documents have been imported and access rights have been configured before participants can enter. Thanks to delayed invitations, you can confidently proceed with the creation of your space, without having to pollute your contacts with notifications.
If you are adding participants individually, remember to uncheck the Send invitation email now box. It is also possible to set this information if you are mass inviting participants. In the Invite to the project now column (optional) of the file, remember to enter No if you do not want participants to receive a notification. This way, you will have plenty of time to modify your data room before inviting your participants to join it.
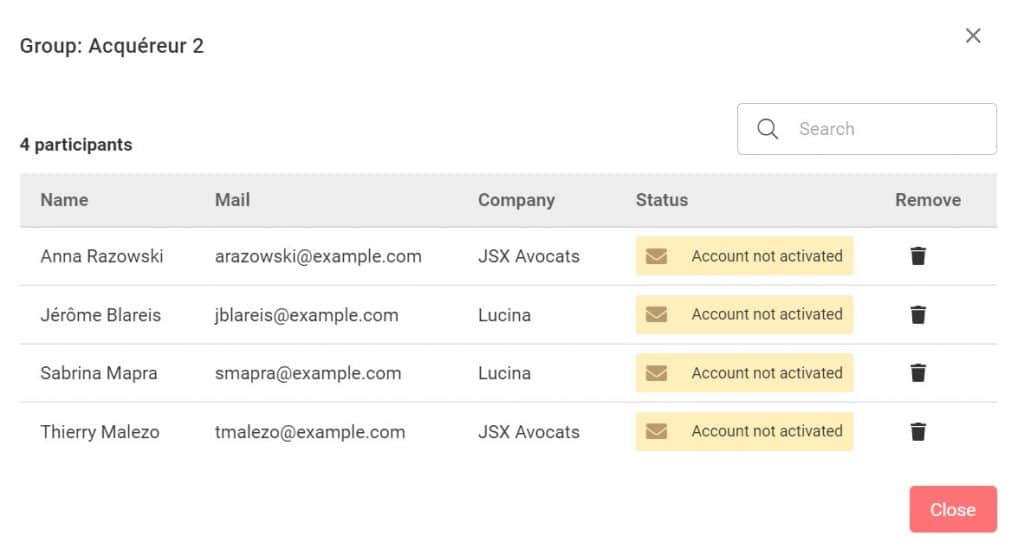
Once your data room is ready, you can send an email invitation to accounts that have not yet been activated by clicking on See all participants in a group, then on Account not activated, which will offer you to Resend invitation.
3. Organize participants into groups
The Closd data room allows its users to classify participants into groups, meaning to group together people who have to receive the same level of information, for example a potential buyer and his advisors. Participant groups can be managed in the Participants menu. Participants can be changed to another group by simple drag and drop.
Groups allow you to share information with a group of users: a folder in the Documents area, a question in the Q&A module, or the prohibition to download documents in the Settings.
4. Set up privacy between groups
It is possible to manage confidentiality between participants, so that certain participants or groups of participants are not visible to others. This feature allows you, for example, to invite all potential buyers to the same data room, without them being able to see each other or to have access to the information shared by each of them, which represents a real gain in time and efficiency.
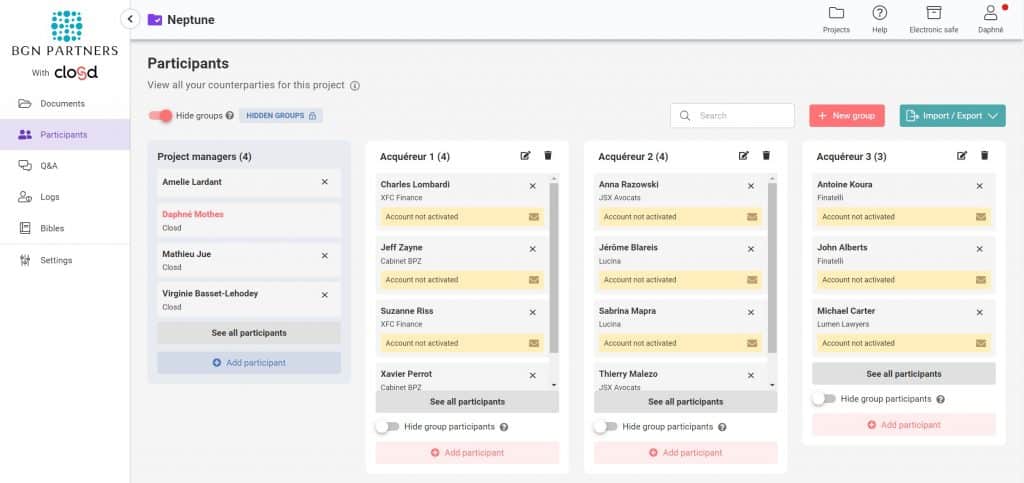
There are two levels of privacy:
- Hide groups prevents participants from seeing other groups besides their own;
- Hide group participants prevents participants from seeing members of their own group.
5. Create a folder tree from an Excel file
The Documents section of the Closd data room allows you to import a tree structure from an Excel template. This allows you to standardize your data rooms and to quickly create one or more reusable tree structure templates in a few clicks.
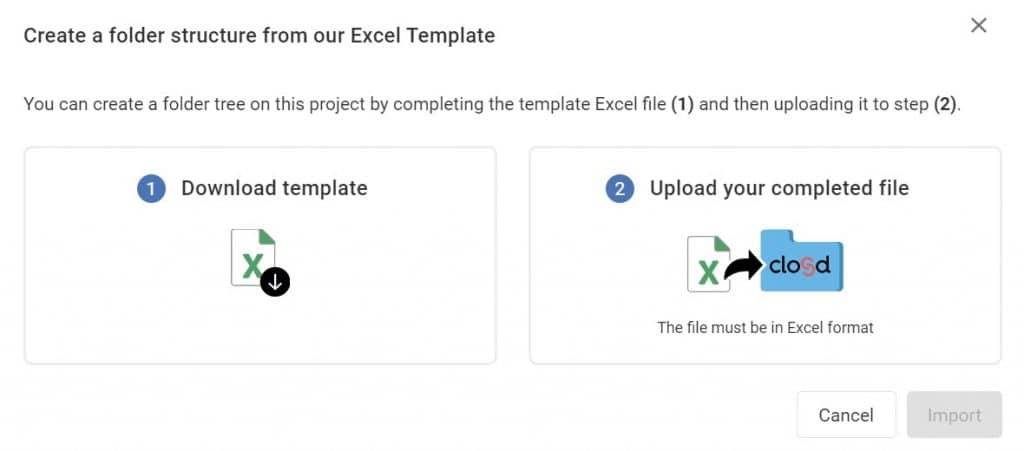
Importing a tree structure also allows you to customize the numbering of your files, especially if you want to adapt it to a nomenclature defined by your organization, different from the automatic numbering proposed by Closd. This import function also allows you to easily modify the tree structure of a large number of documents.
To do this, click on the Options button, then on Create a folder structure (Excel). You can then download the Excel template to fill in. Once the file is filled, you can proceed to upload your file on the platform.
6. Automatically number your folders and files
A very useful feature allows you to automatically number the folders and files in the data room, which is a very important time-saver during the audit. This numbering also allows you to easily refer to a folder or file in the Q&A questions.
To do this, simply activate the Numbering option. The numbering is updated when a file is moved to another folder.

7. Check out the “Recent files” folder
In the Documents section of your data room, you can find a permanent folder called Recent Files. With a search bar allowing you to quickly find your recently uploaded documents on the platform, this section is particularly useful if your notifications have been deactivated and you want to consult the latest additions, or if you missed a notification informing you that a document has been uploaded.

8. Forbid download and force display of watermarks
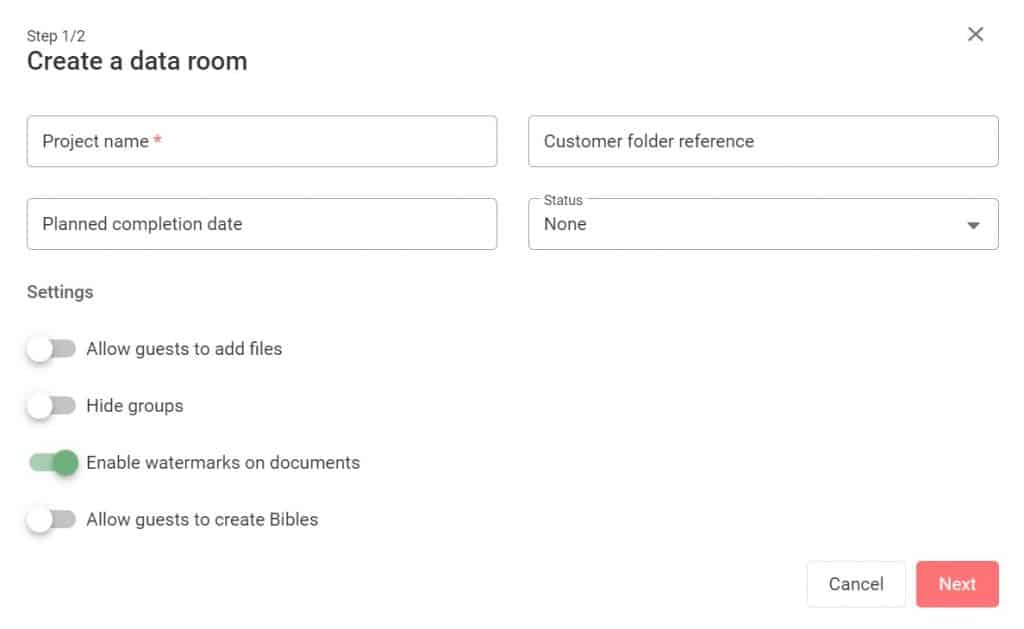
Watermarks are an essential feature of the data room, ensuring the confidentiality of documents and preventing data theft.
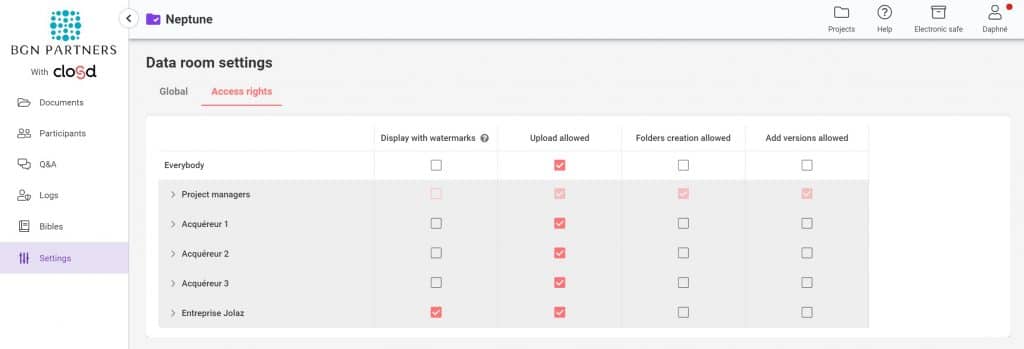
This feature can be enabled when creating your data room, or in the Settings > Access rights section of your data room. Watermarking prevents unauthorized users from downloading files. This feature can be enabled for all data room participants, per group or per user.
9. Create a list of standard questions
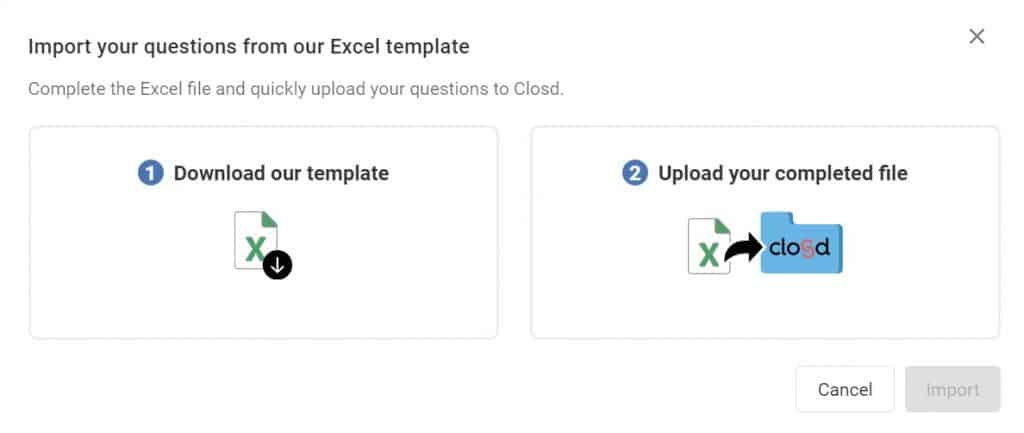
The Closd data room also allows you to import and export lists of questions in the Q&A module, allowing you to standardize this process with sample questions.
To do this, click on the Excel Import button. You can then download the Excel template to fill in. Once the file is completed, you can proceed to upload your question file to the platform.
10. Set up your notifications
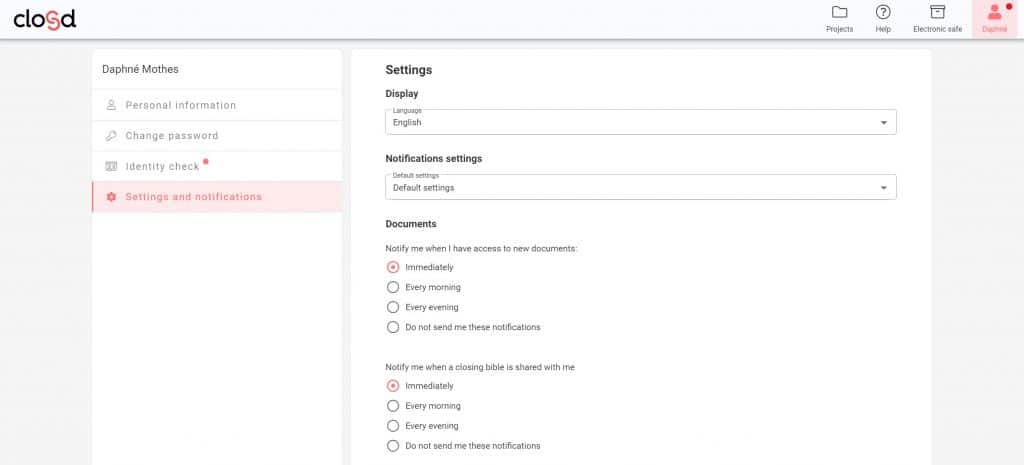
The audit process often means a lot of back and forth between the different parties, and therefore a lot of email notifications that can be intrusive. Closd allows its users to configure themselves the frequency of their email notifications, in the Profile section at the top right of the screen, then in the Settings and Notifications menu.
You can choose to be notified of each action, or to receive a summary every morning or evening, or even to deactivate notifications completely, and this for each module of the platform: documents, Q&A, etc.
Notifications can be set up differently for each project, which is particularly convenient.
The Closd data room simplifies and accelerates audits, while offering an optimal level of security and a revolutionary user experience. A French solution that complies with the highest security standards, the Closd data room is inspired by the experience of dealmakers to transform your audit experience in M&A, private equity, venture, restructuring, real estate…
Directly integrated into a 360° legal project management solution, it offers all the features required for smooth and efficient completion of your legal audits: document management, Q&A module, fine-grained management of access rights and watermarks, activity logs, archives and digital certificates…
Contact us to learn more about our data room solution!


